
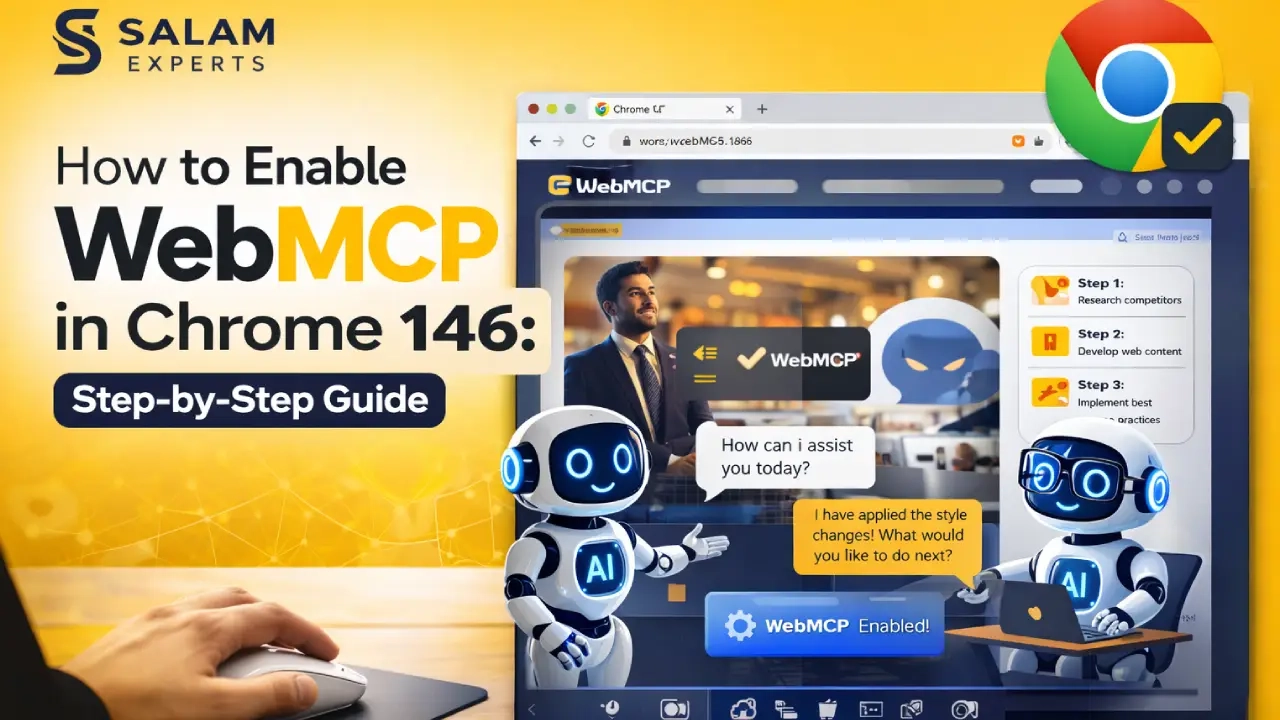
WebMCP launched in early preview in Chrome 146 in February 2026. It is available now — but you need to enable a feature flag and install a debugging extension to get started. This guide walks you through the full setup in under 10 minutes.
What you will need
- Chrome 146+ (Canary or Beta channel recommended)
- 5-10 minutes
- No coding required for basic setup
- The Model Context Tool Inspector extension (free, from Chrome Web Store)
Step 1: Install the Right Chrome Version
The stable Chrome release does not yet include WebMCP. You need Chrome 146 or higher from the Canary or Beta channel.
Option A: Chrome Canary (Recommended for Developers)
Chrome Canary is the most cutting-edge build and always has the latest features. It can run alongside your regular Chrome installation without conflicts.
- Go to google.com/chrome/canary/
- Download and install Chrome Canary
- It installs separately — your regular Chrome is unaffected
Option B: Chrome Beta
More stable than Canary but still includes the WebMCP flag. Go to google.com/chrome/beta/ and follow the same steps.
Version check
Open Chrome menu → Help → About Google Chrome. You need version 146.0.7672.0 or higher. If your version is lower, update before proceeding.
Step 2: Enable the WebMCP Flag
Chrome feature flags are experimental settings that activate features before they are officially released.
- Open Chrome Canary or Beta
- In the address bar, type: chrome://flags and press Enter
- In the search box at the top, type: WebMCP
- You will see the flag “WebMCP Testing” — click the dropdown next to it
- Select “Enabled”
- Click the blue “Relaunch” button at the bottom of the screen
// Direct URL to the flag (paste into Chrome address bar):chrome://flags/#enable-webmcp-testing
After relaunching
Chrome restores your previous tabs. The WebMCP API is now active — navigator.modelContext will be available on HTTPS pages.
To verify: open any HTTPS site, open DevTools (F12), go to Console, and type: “modelContext” in navigator
If it returns true, WebMCP is enabled correctly.
Step 3: Install the Model Context Tool Inspector
The Inspector is a Chrome DevTools extension that shows you all WebMCP tools registered on the current page — and lets you test them with custom inputs.
- Open the Chrome Web Store (chromewebstore.google.com)
- Search for “Model Context Tool Inspector”
- Click “Add to Chrome” and confirm the installation
- The extension adds a new tab to Chrome DevTools
To access it:
- Open DevTools: press F12, or right-click any page → Inspect
- Click the “>>” overflow tab if the Inspector tab is not visible
- Select “Model Context Tool Inspector”
- Navigate to a page with WebMCP tools — they will appear in the panel
Step 4: Test on Google’s Live Demo
Google provides a live flight search demo that showcases both the Declarative and Imperative APIs. It is the fastest way to see WebMCP in action.
- With WebMCP enabled, navigate to the Google Chrome AI flight demo (linked from developer.chrome.com/blog/webmcp-epp)
- Open the Model Context Tool Inspector
- You will see tools like searchFlights, listFlights, and setFilters registered on the page
- Click a tool, enter test parameters (e.g., origin: “JFK”, destination: “LAX”, date: “2026-06-15”)
- Click Execute and observe the structured JSON response
This shows exactly what an AI agent sees when it interacts with a WebMCP-enabled site. Your tools will appear the same way once implemented.
Step 5: Test Your Own Site
Once you have implemented WebMCP tools on your site, use this workflow to verify them:
- Navigate to your site in Chrome with the flag enabled
- Open DevTools → Model Context Tool Inspector
- Confirm your tools appear with correct names and descriptions
- Test each tool with realistic parameters
- For write tools (readOnly: false), confirm the browser confirmation prompt appears
- Check the browser console for any JavaScript errors
Troubleshooting
| Issue | Fix |
|---|---|
| modelContext" in navigator returns false | Verify flag is set to Enabled and Chrome was relaunched |
| No tools in Inspector on your site | Check HTTPS — WebMCP does not activate on HTTP. Check for JS errors. |
| Inspector tab not visible in DevTools | Click ">>" overflow tab at the right of the DevTools tab bar |
What’s Next
With Chrome configured and the Inspector installed, you are ready to implement and test WebMCP tools on your own site. Recommended reading order:
- How to Make Your Website Agent-Ready (start here for the full process)
- WebMCP Declarative API Guide (for HTML form annotation)
- WebMCP Imperative API Guide (for custom JavaScript tools)
- WebMCP Security Best Practices (before going live)

Ready to implement WebMCP?
Rather have experts handle the implementation? We set up, test, and document WebMCP tools for your site — so you do not have to navigate the early preview documentation yourself.
WebMCP Audit Now